Image Source: Google
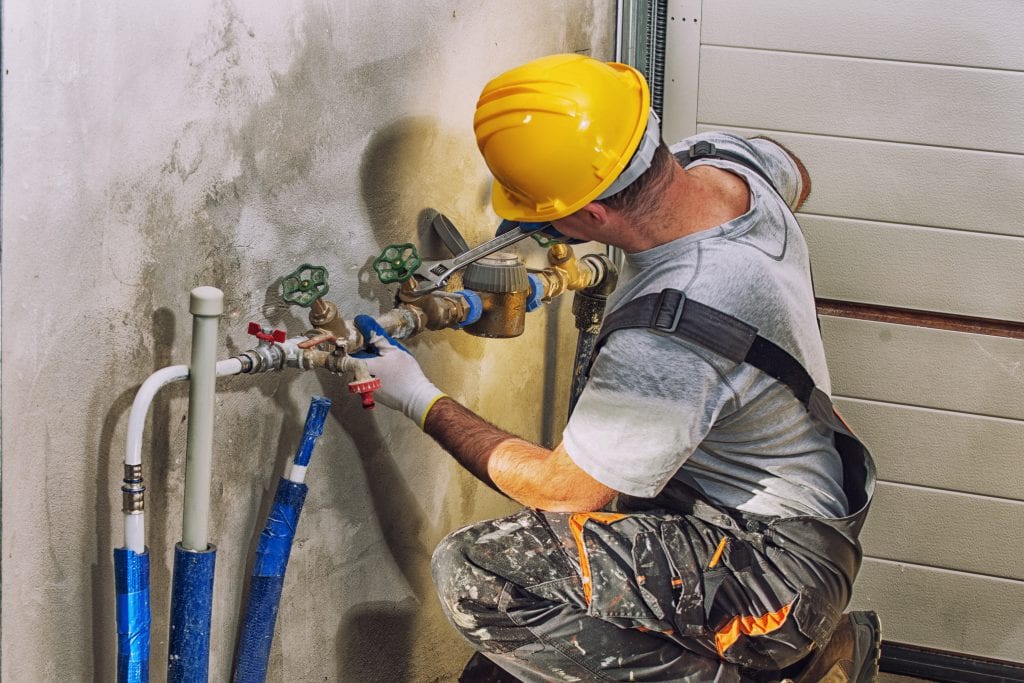
Dealing with a broken water line can be a homeowner's nightmare. Not only can it be a costly repair, but it can also lead to potential flooding and water damage in your home. However, with the right knowledge and tools, you can tackle water line repairs on your own and save money in the process. In this article, we will provide you with expert tips for DIY water line repair to help you prevent flooding and protect your home. Refer Link: https://www.redsealplumbing.com/service-areas/north-vancouver-bc/.
Assess the Situation
Before you start repairing your water line, it's important to assess the situation to determine the extent of the damage. Here are some steps to follow:
Locate the Leak
- Check for any standing water or damp areas in your yard, which could indicate a leak in your water line.
- Inspect your basement or crawl space for any signs of water damage or dripping water.
Turn Off the Water Supply
- Locate the main water shut-off valve in your home and turn it off to prevent any further water damage.
Gather the Necessary Tools and Materials
Once you've assessed the situation, it's time to gather the tools and materials you'll need for the repair. Here are some essential items to have on hand:
Tools
- Adjustable wrench
- Pipe cutter
- Plumbers tape
- Soldering torch
- Flux
- Emery cloth
- Bucket
Materials
- Replacement pipe
- Couplings
- Fittings
- Solder
- Waterproof sealant
Repair the Water Line
With the necessary tools and materials on hand, you can now proceed with repairing the water line. Here are the steps to follow:
Cut Out the Damaged Section
- Use a pipe cutter to remove the damaged section of the water line.
- Make sure to make clean, straight cuts to ensure a proper fit for the replacement pipe.
Prepare the Pipe
- Clean the ends of the existing pipe and the replacement pipe with emery cloth to remove any debris or corrosion.
- Apply flux to the cleaned ends of the pipes to help the solder adhere.
Solder the Pipes
- Fit the replacement pipe into place and secure it with couplings and fittings.
- Use a soldering torch to heat the joint and apply solder to create a watertight seal.
Test the Repair
Once you've completed the water line repair, it's important to test the repair to ensure it's done correctly. Here's how:
Turn On the Water Supply
- Turn the main water shut-off valve back on and check for any leaks around the repaired area.
Inspect for Leaks
- Run water through the repaired water line and inspect for any signs of leaks or drips.
- If you notice any leaks, turn off the water supply and re-solder the joint as needed.
Prevent Future Leaks
To prevent future water line leaks and repairs, consider the following tips:
Insulate Your Pipes
- Insulate your water pipes to prevent them from freezing and bursting during cold weather.
Monitor Water Pressure
- Regularly monitor your water pressure and keep it at a safe level to prevent stress on your water lines.
Perform Regular Inspections
- Inspect your water lines regularly for any signs of wear, corrosion, or leaks to address issues before they escalate.
By following these expert tips for DIY water line repair, you can save money on costly repairs and prevent potential flooding in your home. Remember to always prioritize safety and consult a professional if you're unsure about any step of the repair process. With the right tools and knowledge, you can effectively repair your water line and protect your home from water damage.